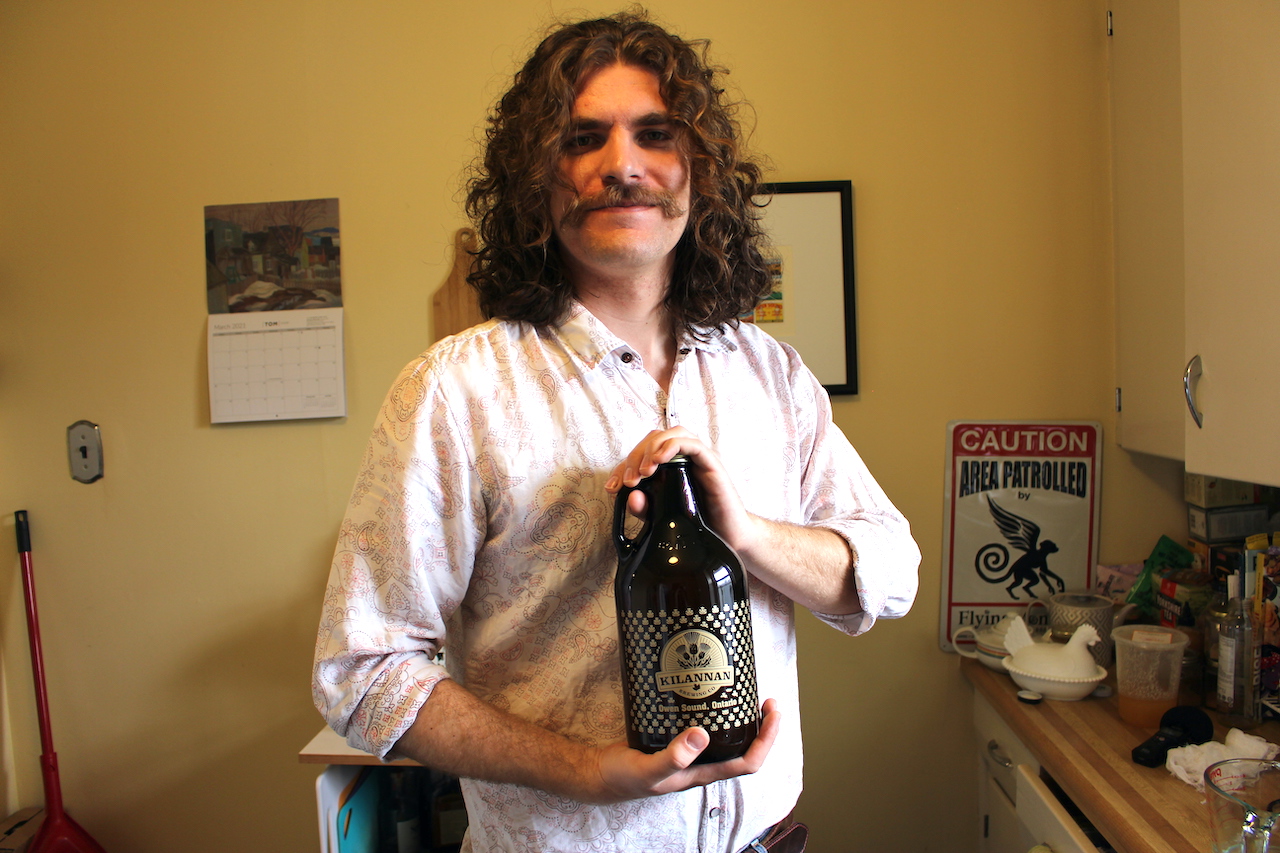
Everybody is creative. We all have some outlet through which we express ourselves. Some people sew, some make music. Others find new and interesting ways to cut people off in traffic.
I started fermenting stuff a few years ago as my own creative endeavor.
Fermentation is a process through which you can transform food. I’d group it together with pickling because it involves leaving things in jars for extended periods. However, the similarities end there. Whereas pickling involves killing microbes, fermenting depends on inviting them to the party!
It’s the wonderful process that turns milk into cheese, and grains into beer. In short, it’s controlled rot.
I don’t know everything there is to know about fermenting. Neither did the people who discovered it, so I’m in good company. The barrier for entry is very low: if you have a mason jar and access to a grocery store, you can do anything.

Make sure you have appropriate equipment
Listen, I know I said that the barrier for entry is very low, and here it is: get good jars.
A lot of stores sell decorative glass vessels that look like they’d be good for fermenting. Do not be fooled!
The fermentation process produces a lot of gas and therefore a lot of pressure. If your vessels aren’t fermentation-grade, they will explode, leaving you with a sharp, sticky mess to clean up and no small amount of disappointment.
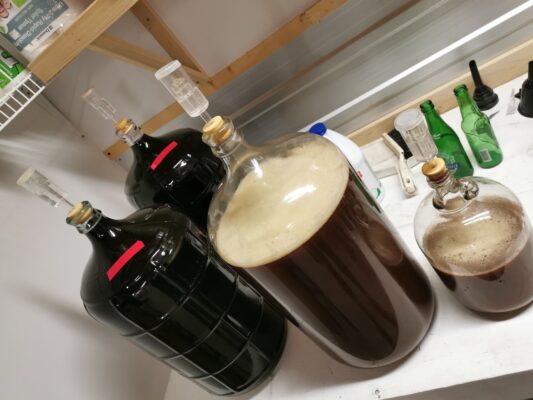
Get the real deal. Bernardin jars are good for projects with a lot of solids such as fruit and ginger and you can get them at any grocery store. If you’re fermenting liquids, mason jars are also fine, but you can also find flip top bottles designed to withstand a lot of pressure. You can find them online, though I prefer to get mine at the LCBO because I like the process of emptying the beer from them.
You can go a little further and get one-way valves to release gas consistently, but it’s not always necessary. If you can remember to burp your jars every eight hours or so, you’ll be fine. Just unscrew the lids until you hear it hissing.
Do a little research before you get started
Humans have been experimenting with fermentation for a very long time. Their collective knowledge is at your fingertips. If you are fermenting for the first time or trying a new recipe, save yourself some heartache by reading about it first. Keep in mind that every time you ferment something it will be different. It’s not as reliable a process as, say, cooking your favourite dish.
It’ll depend a lot on climate, time of year, and a million other factors that you have very little control over. It’s best to keep an eye on it so you can halt the process at the right moment.
Get quality ingredients, and maybe support your farmers’ market
This is one of the few things that you do have control over, and you should use that to your advantage. The better your starting point is, the better your finished product will be. Don’t read the words “controlled rot” and think you can just cut the gross bits off the pineapple that’s been festering in the back of your fridge for two weeks. Start with the freshest, nicest ingredients you can.
I’d recommend buying organic fruit, mainly so you don’t have to rinse any pesticides off of them. Some fruit and vegetable rinds have natural yeast that helps convert sugar into alcohol. If you have to wash them, you’ll also be washing away the kickstart that yeast will provide.
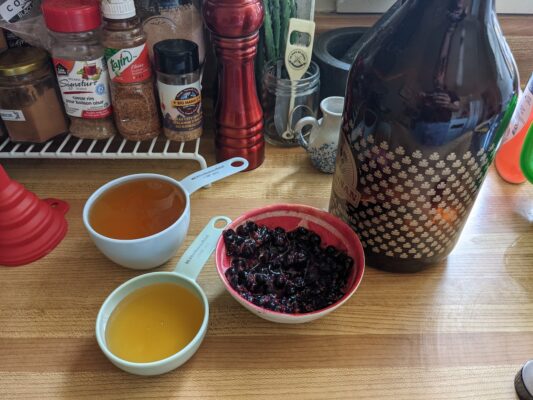
We are so lucky in Grey Bruce Simcoe to have a few year-round farmers’ markets. Honestly, they’re the best place to buy ingredients. For one, it’s great to support your local farmers. Secondly, it’s the best place to get high quality, fresh, in season fruit and vegetables for relatively little money.
Don’t get discouraged
Your first ferment probably won’t be amazing. I had to pour a batch of mead down the drain after it sprung a leak in my kitchen cabinet. I was pretty unhappy about it, but you know what?
As it left the jug and flowed down the kitchen sink, I noticed how good it smelled and how light and effervescent it was! I knew that given a little less time to ferment and some more effective sterilization techniques, my next batch would be amazing! And it was. I literally didn’t stop talking about it for weeks.
Don’t be afraid to experiment
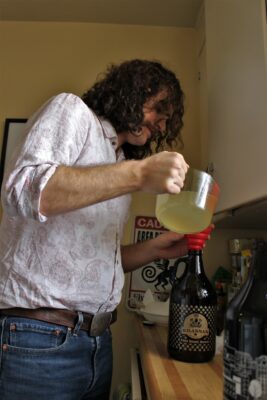
You are making things that can’t be found in stores. Why settle for the ordinary? You can put any combination of flavours together! Cedar and elderberry? Blackberries, vanilla, and cilantro? Chilli peppers and spruce tips?
You can put together things that haven’t even been in the same sentence before, let alone the same drink or condiment. When you give your friends a jar of your spread, they should look at least a little skeptical about what’s in it.
Now, if you are going as wild as I recommend, don’t forget to write down at least approximate measurements for what you’re doing. Your memory is not as good as you think it is. I’ve lost more than one recipe to forgetfulness.
Share with your friends
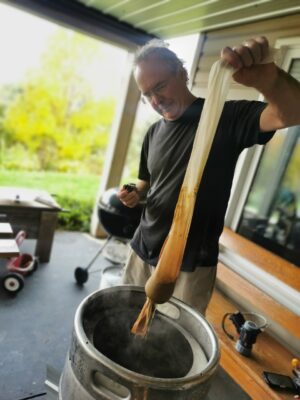
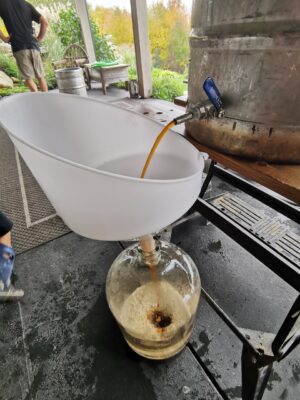
You’ve worked hard for your end product. Days, possibly weeks of time, patience, and effort have gone into what you’re about to open up. You know what you put inside, but what comes out might be very different from anything you could expect. It’s like that scene in Raiders of the Lost Ark, but with fewer vengeful spirits. It may be equally as mind-blowing, though!

In any case, it’s something to share with your friends (as long as they’re over the age of 19). Not just because it’s a nice gesture, but also because it’s difficult to consume everything you make if you ferment in high volumes. Just don’t forget to ask for your jars back, otherwise it gets pretty expensive.
I’d encourage anybody who’s interested (and over 19) to take up fermenting at home.
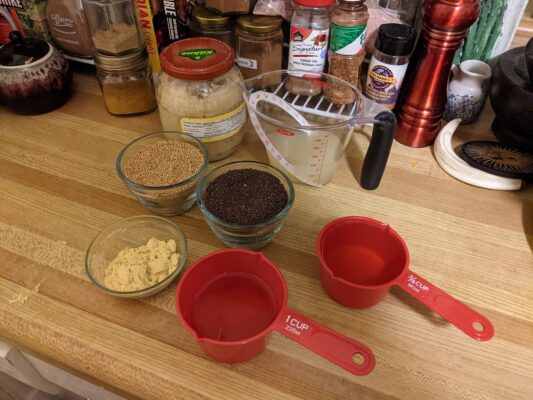
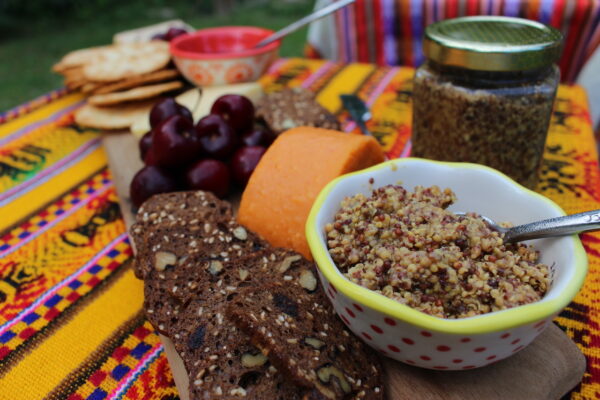
I’ve had batches of mustard and ginger beer turn out better than I ever could have dreamed.
Though I talk about it lightly, there is truly nothing more rewarding than making something with your own hands… especially when it turns out well.
If you’re looking for something simple to get you going, Tepache is a great place to start! It’s a sweet, spicy, mildly fizzy, slightly alcoholic drink that’s great on its own, or as a mixed drink with another alcoholic beverage.
You’ll need
- Two 1.9 litre mason jars
- Several smaller jars or flip-top bottles
- A whole pineapple (organic preferred — see earlier fun fact in article.)
- Two sticks of cinnamon
- One whole jalapeno pepper or other chile pepper
- About a cup of brown sugar
- Some ginger root
- To have been born in 2002 or before
Remove the ends and woody core from your pineapple and cut the fruit into smaller chunks. Don’t remove the rind! Put half the pineapple into each jar, as well as roughly a half cup of brown sugar. The brown sugar will feed the yeast and become alcohol. Fill each jar about a quarter of the way full with water, close the top, and shake it to dissolve the sugar.
Into each jar, grate half the ginger, add a stick of cinnamon, and half the pepper seeds without stem. Fill your jars the rest of the way up, but be sure to leave about an inch and a half of air in each one. Both ginger and pineapple are very active fermenters, and this is going to get fizzy and ferment-y relatively quickly. Close your jars again and let ferment in a corner of your counter at room temperature for about three or four days, making sure to burp your concoction every eight hours or so. You’ll know it’s ready when there’s a light ring of bubbles at the surface. It’ll look similar to a glass of beer after the head’s gone.
At this point you can open your jars and strain the solids out. Transfer the liquid into your smaller jars, seal those guys up, and allow to ferment for an additional two or three days. This’ll give you nicer carbonation and a sharper flavour. Put these in the fridge to halt the fermentation. This will keep for about a week!
Enjoy!
Note: It is illegal for anyone under the age of 19 to consume alcohol in Ontario. This includes fermented beverages. Do not attempt this at home unless you are over the age of 19.
Words by Andy Elliott
Photos by Sarah Goldman and Nelson Phillips

